


Step 01. Drawn
Every model starts as a drawing in our own workshop, checked against the [b]CAPS Technology syllabus[/b], so a Grade 7 to 9 project lands exactly where the marks are.
Step 02. Cut
The laser cuts each part from 3 mm MDF or plywood, so tabs and slots meet [b]within a fraction of a millimetre[/b] and nothing needs sanding.
Step 03. Test-fitted
Before a kit is packed, we build it. Every part is [b]slotted together once by hand[/b], then labelled, so no learner meets a piece that will not fit.
Step 04. Filmed
Each kit comes with a short 3D animation of the whole build, so you can [b]watch it once before you touch a single piece[/b].
Step 05. Packed
Sheets, labels and instructions go into one flat box in Gauteng, and ship to homes, schools and shops across [b]South Africa and Namibia[/b].
No glue. No guessing.
Every Slotbok kit is drawn, cut and test-fitted by the people who packed it. If a part doesn’t fit, that’s on us, not on your learner.
KitsProjects & puzzles
In the shopPictures & prices
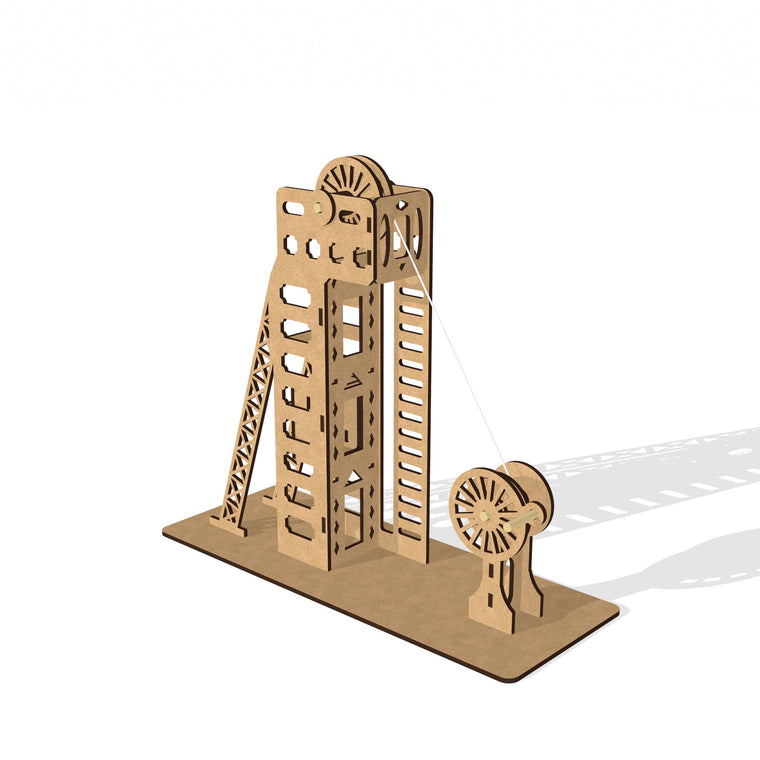
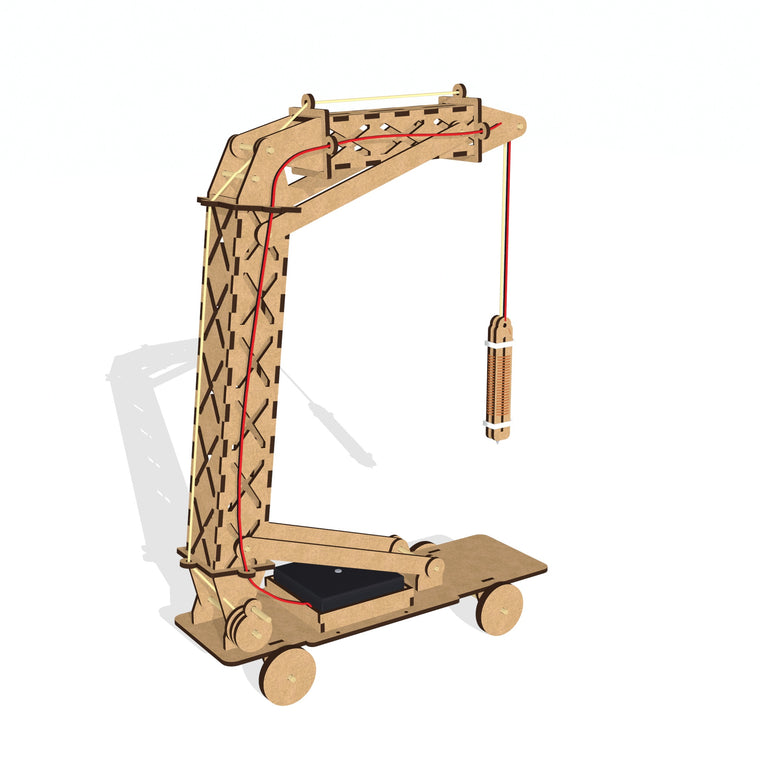
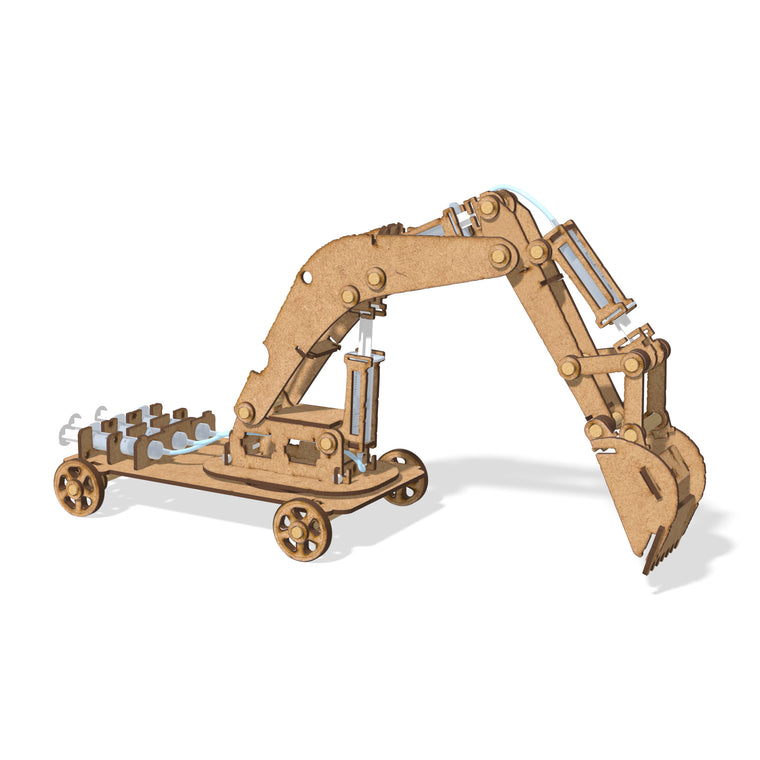
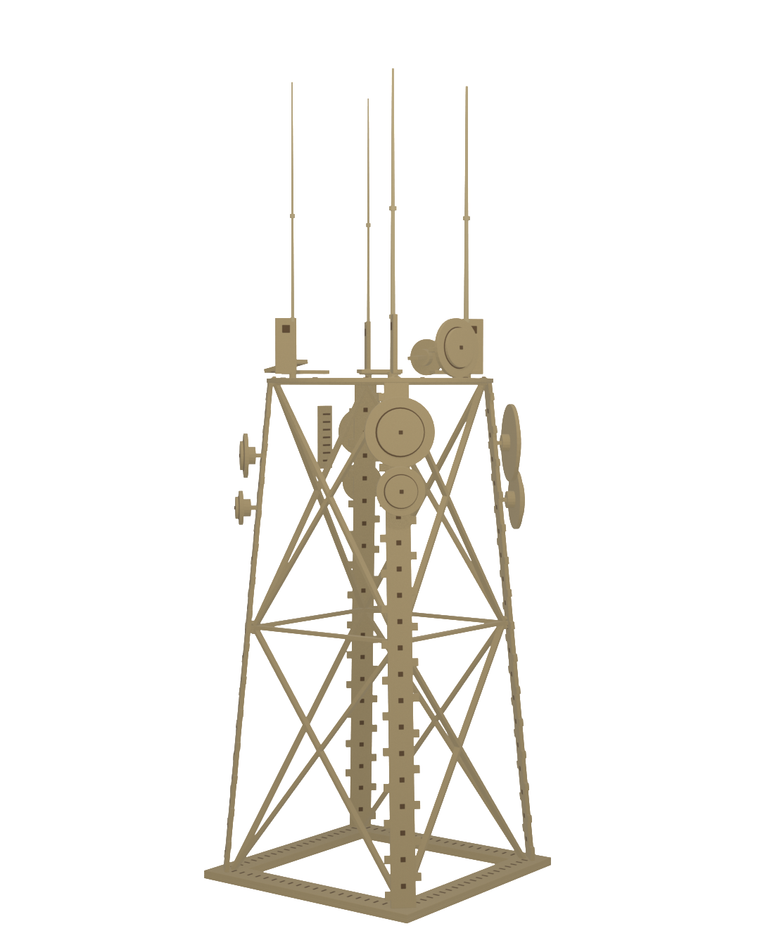
Build one this term.
Get a kit